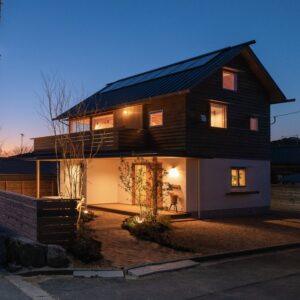
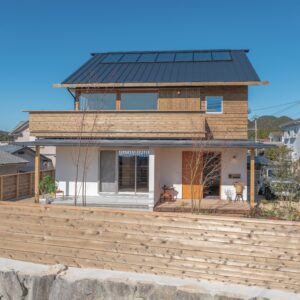
古民家リノベーションが始まりました!
カテゴリ: 工事/2016年3月3日
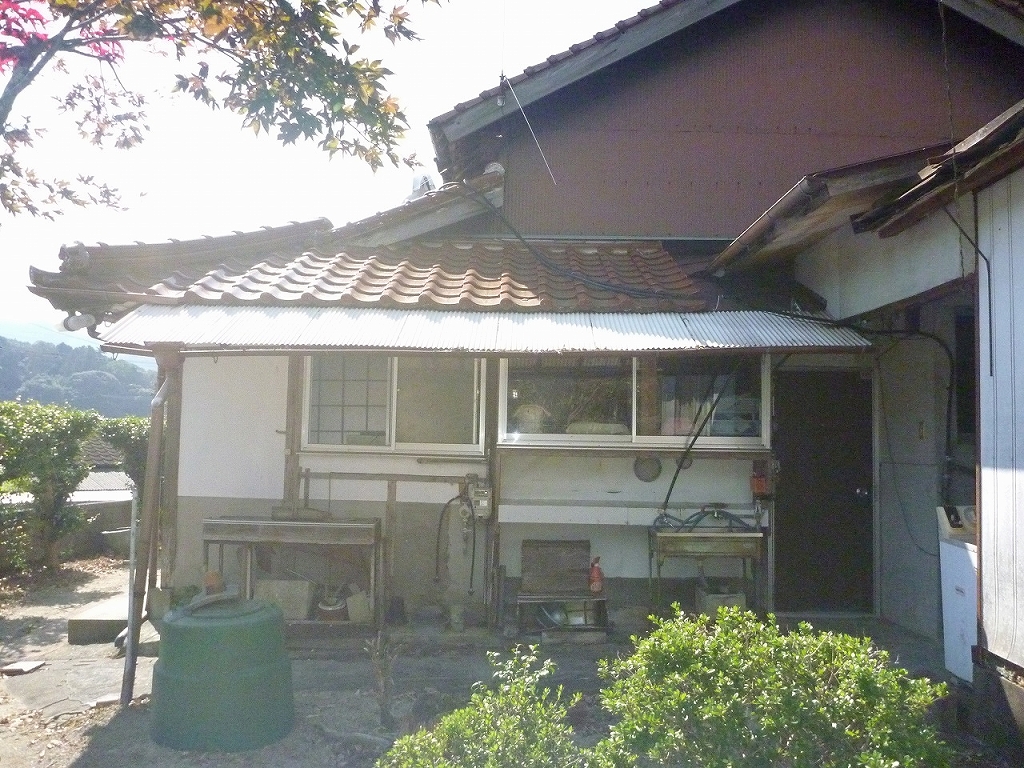
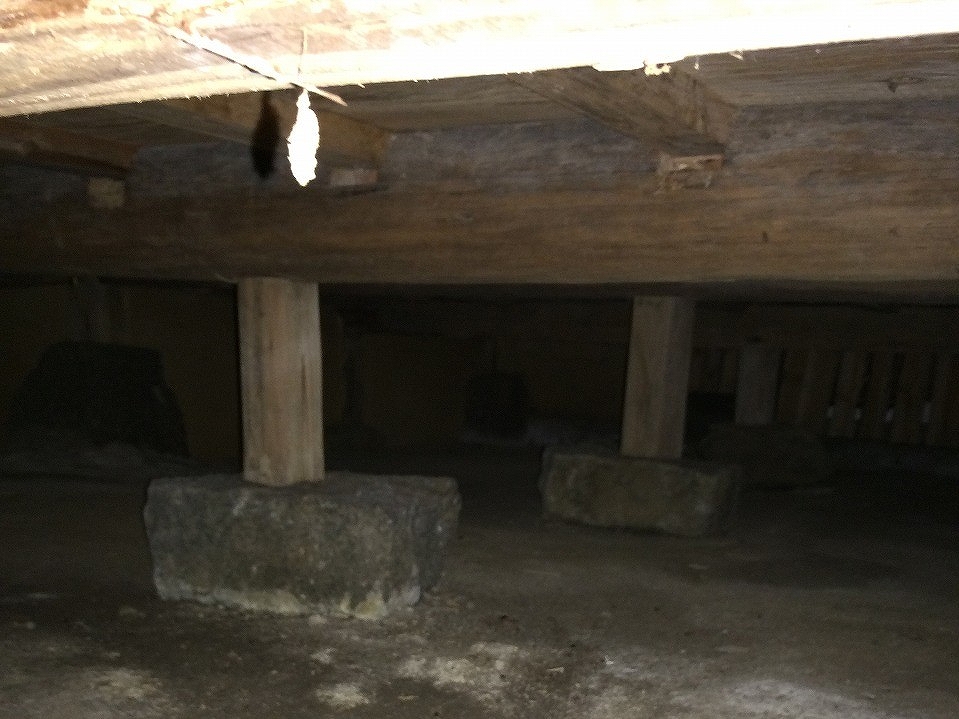
築70~80年が経つ家は、通気の悪い土間から発生する湿気で傷んでいましたが、
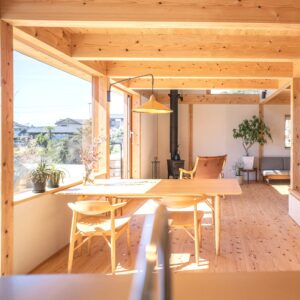
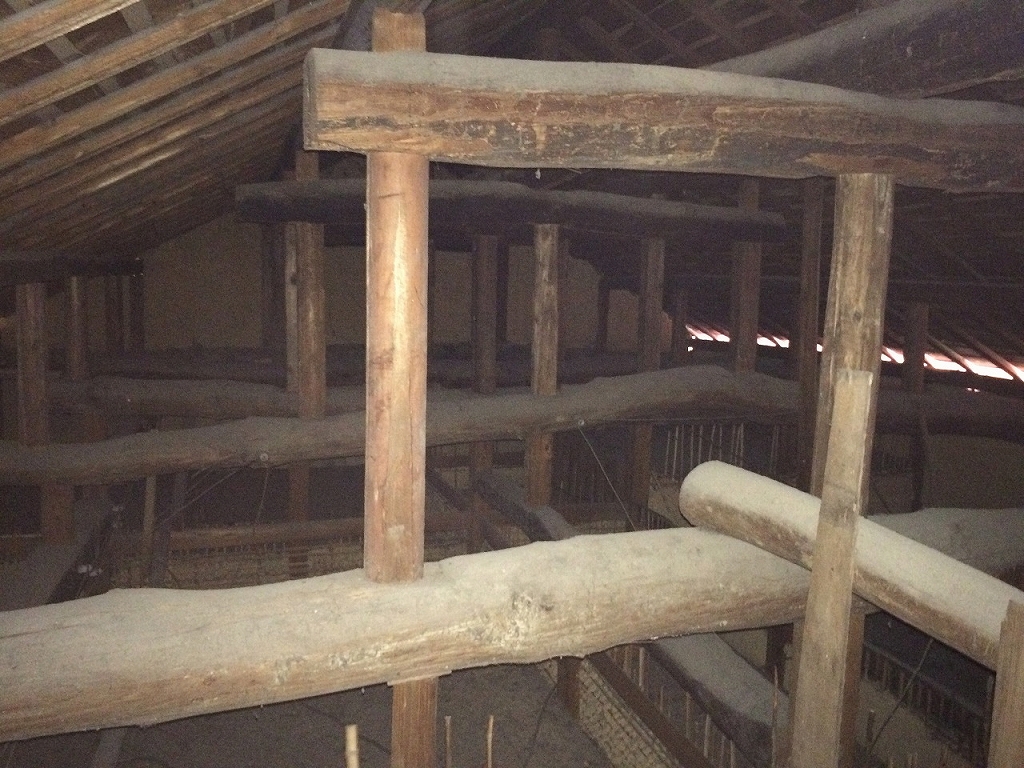
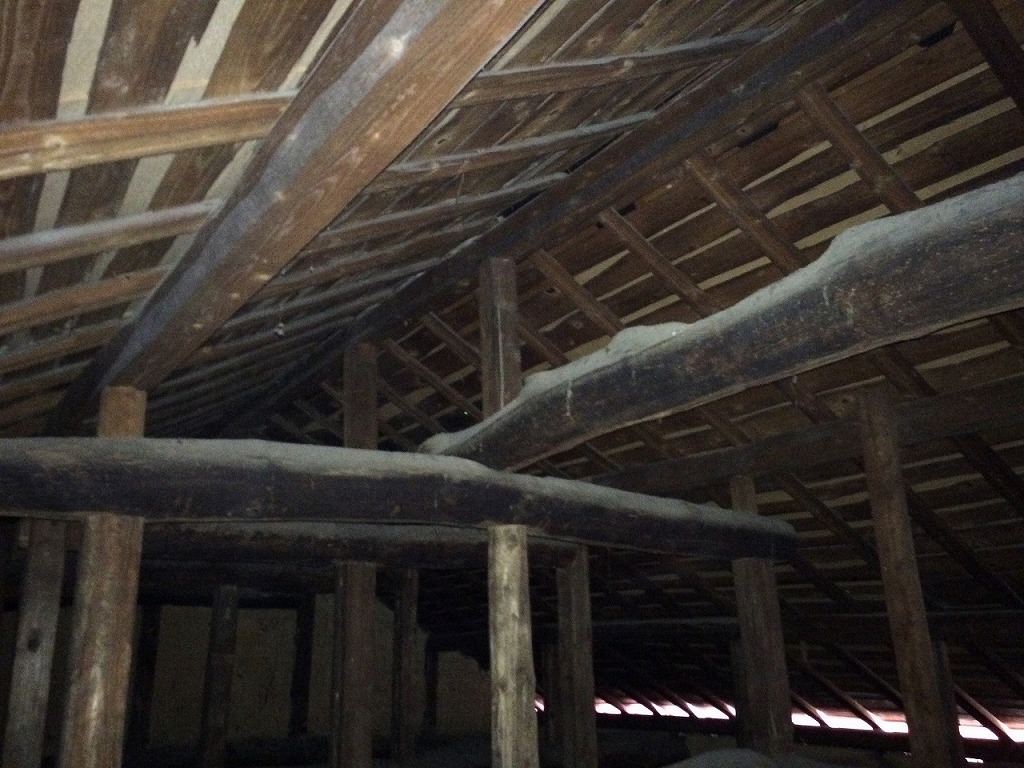
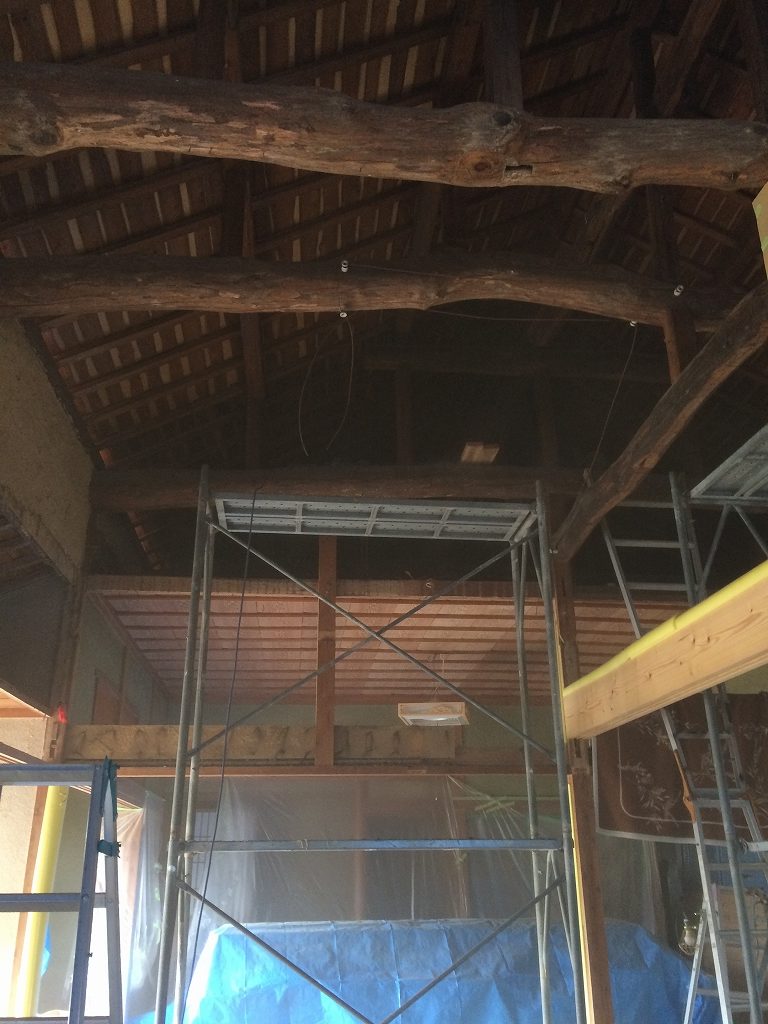
元々古屋を解いた古材で建てられた家の屋根裏には、築100年は優に超える大きな松の梁が眠っていました。
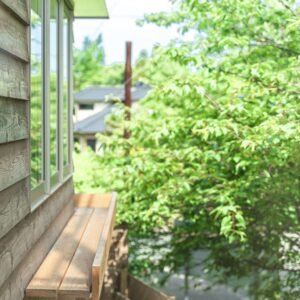
また、段差も多く細かく仕切られた室内からは、
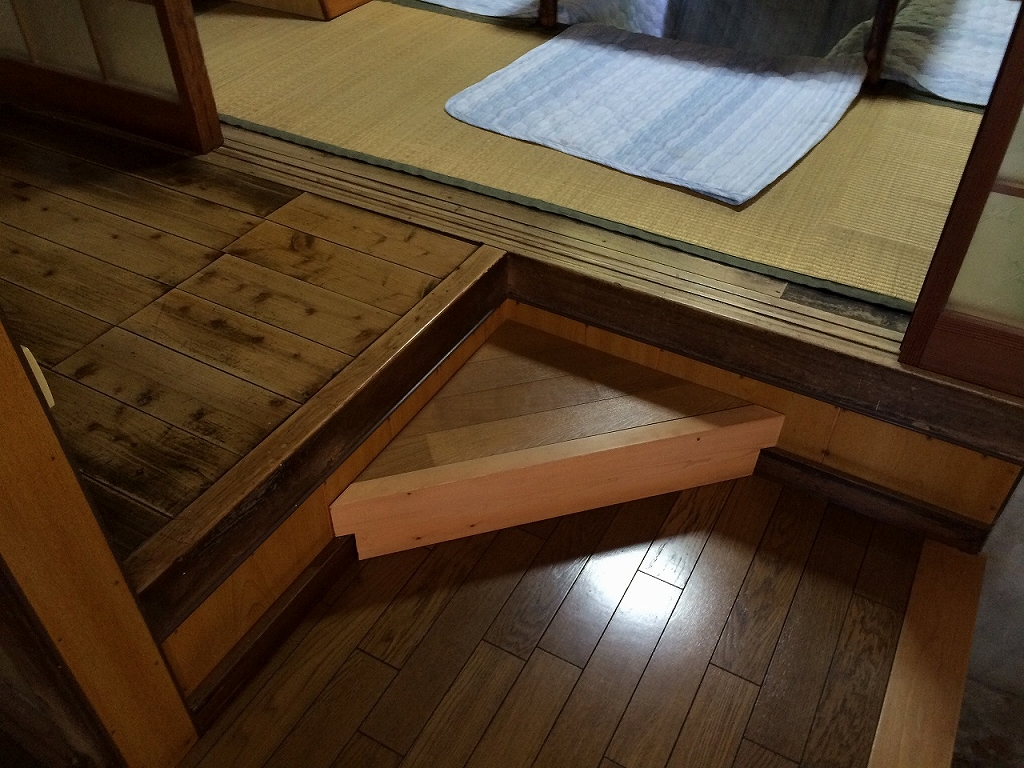
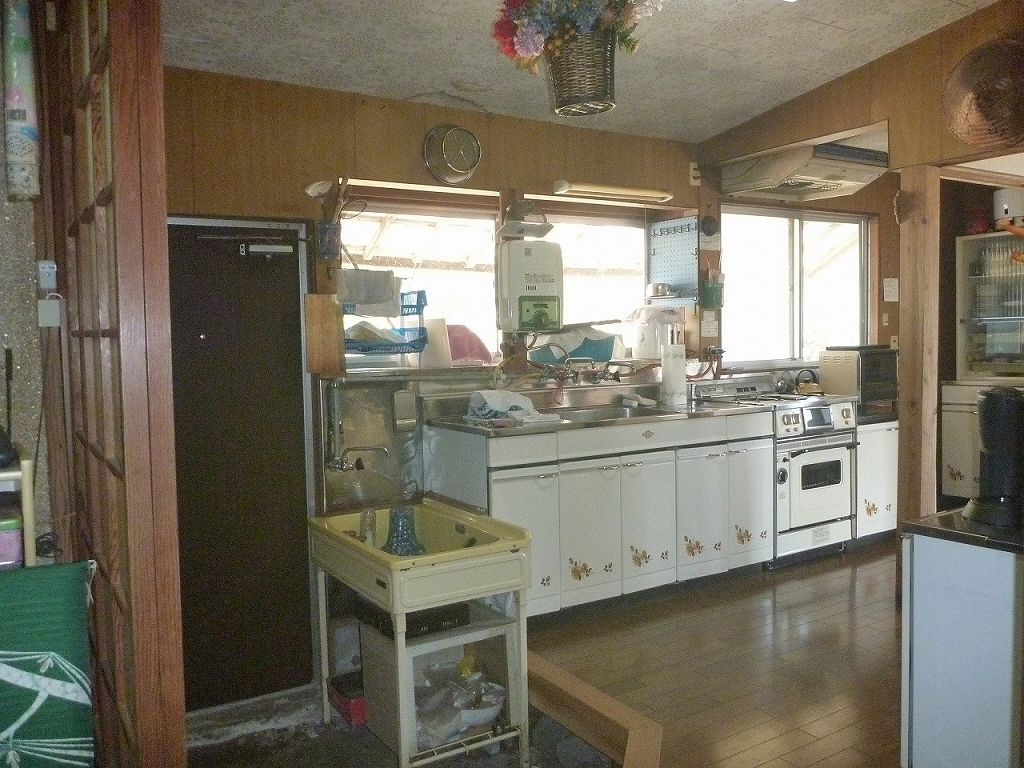
せっかくののどかな景色も見えていなかったため、
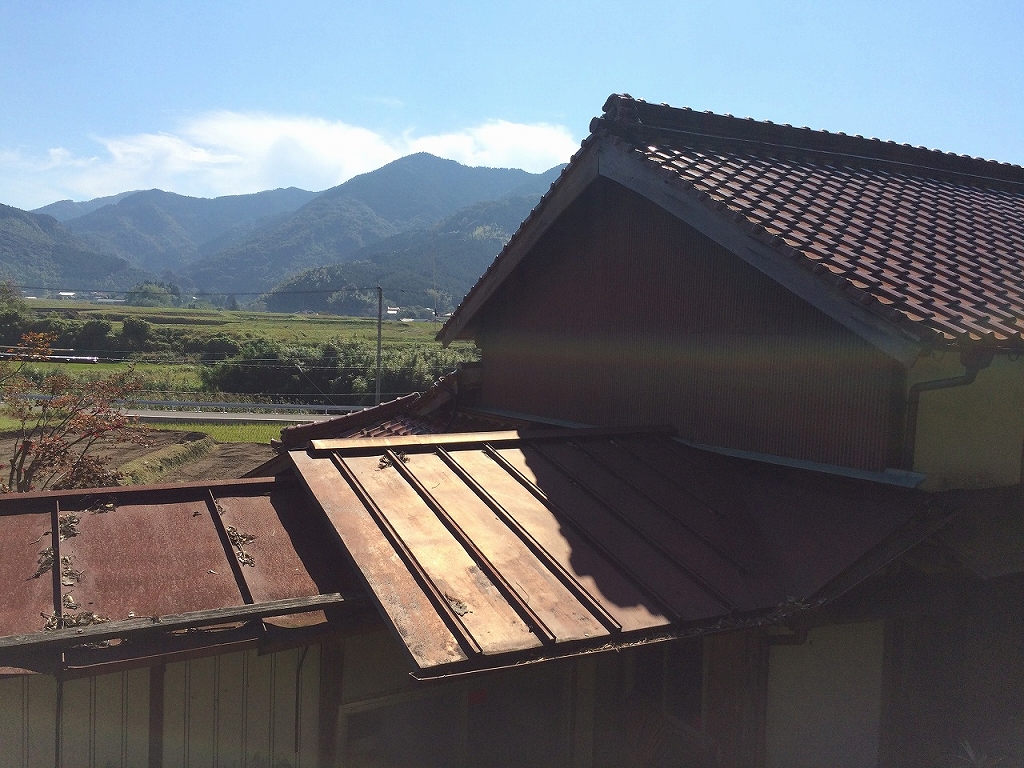
この梁を魅せる材とし、屋根裏空間や景色もうまく取り込みながら
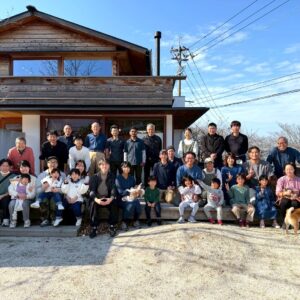
ご実家を生き返らせようとリノベーション工事が始まりました!
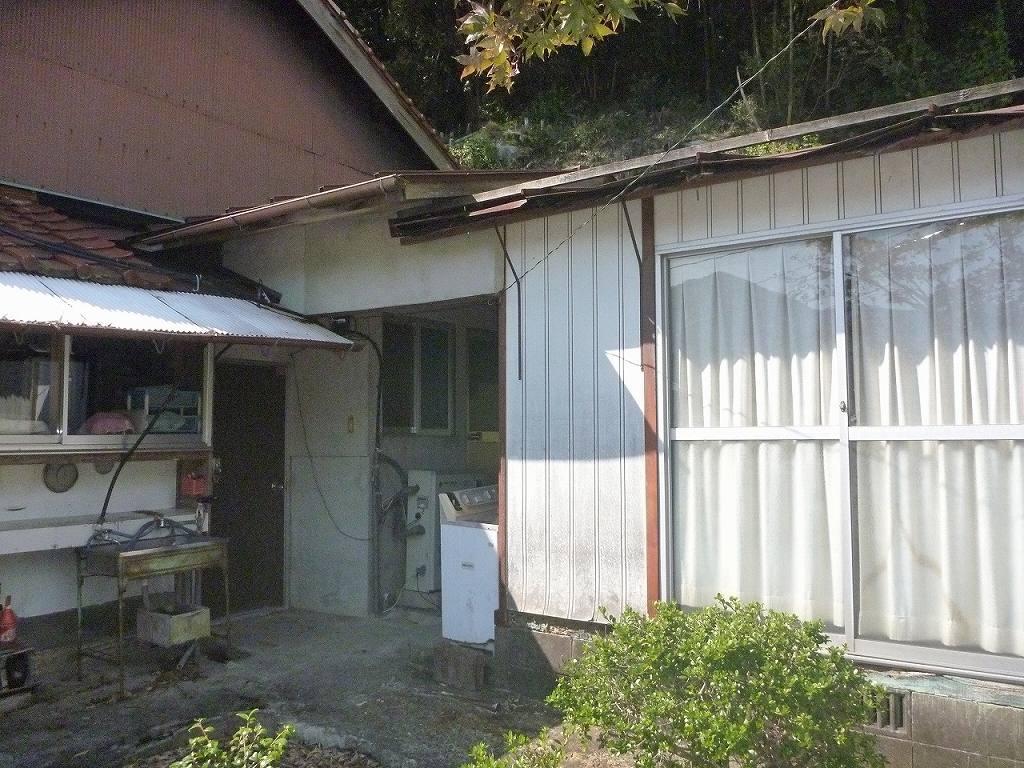
まずは、家の東側使わなくなった子供部屋を減築。
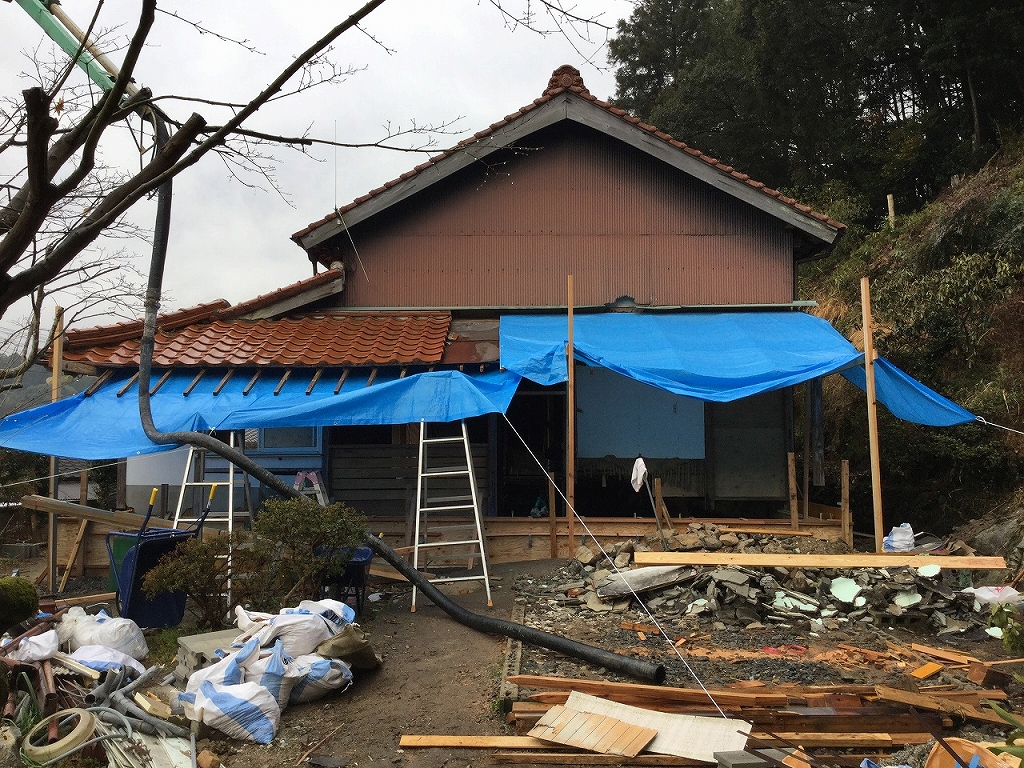
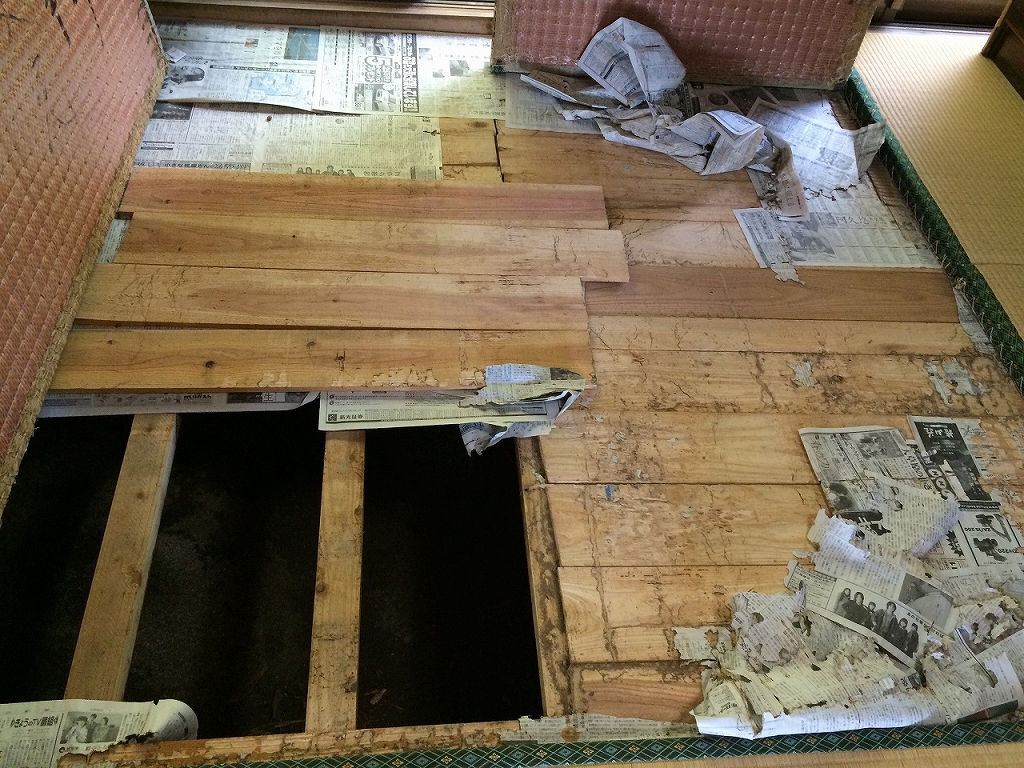
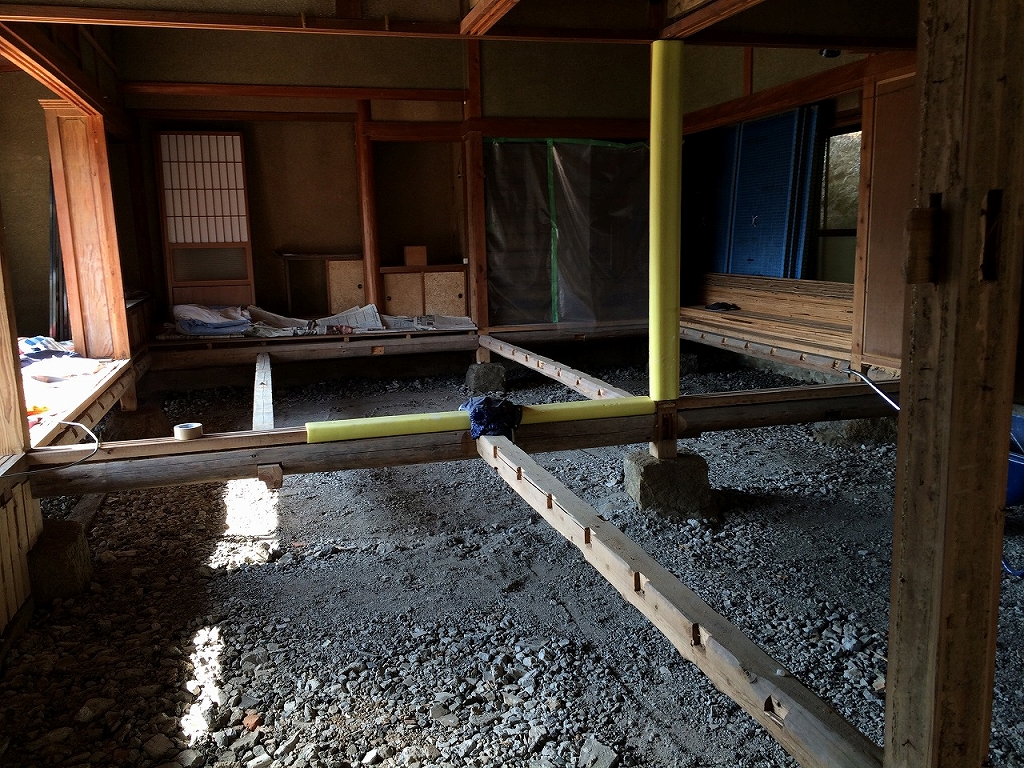
次に湿気に悩まされていた床下を全て剝がします。
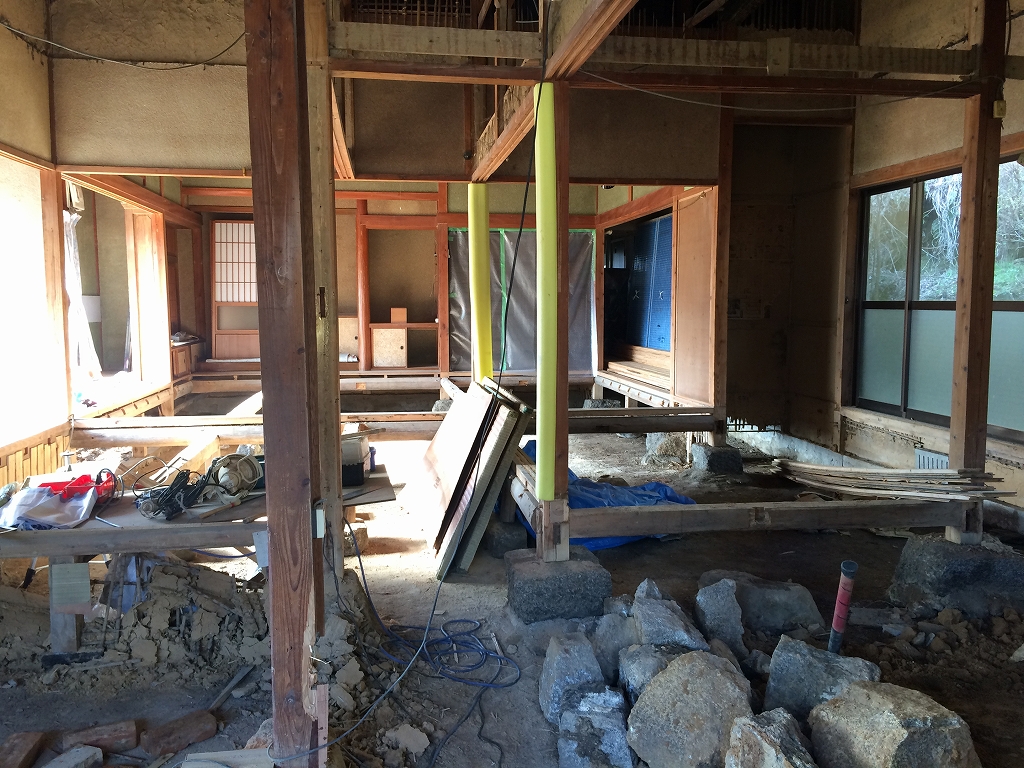
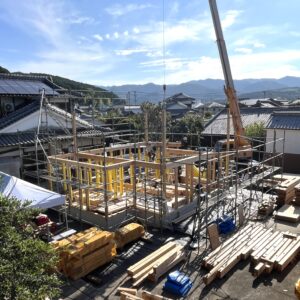
天井も撤去すると今まで隠れていた大きな梁と空間が現れました。
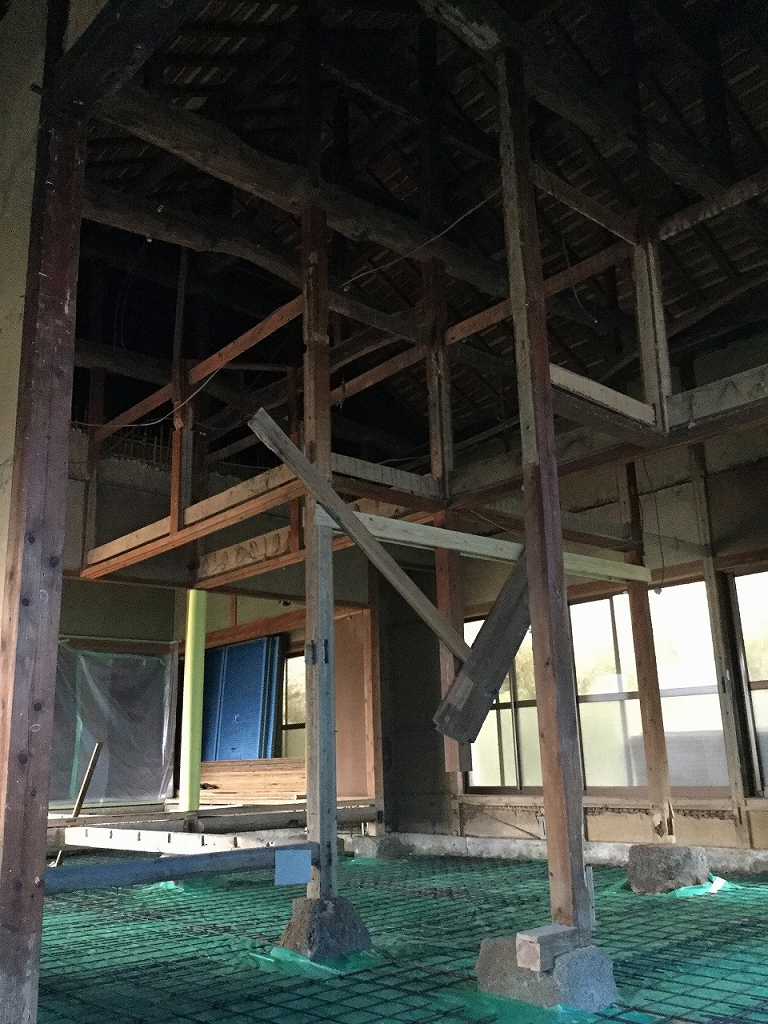
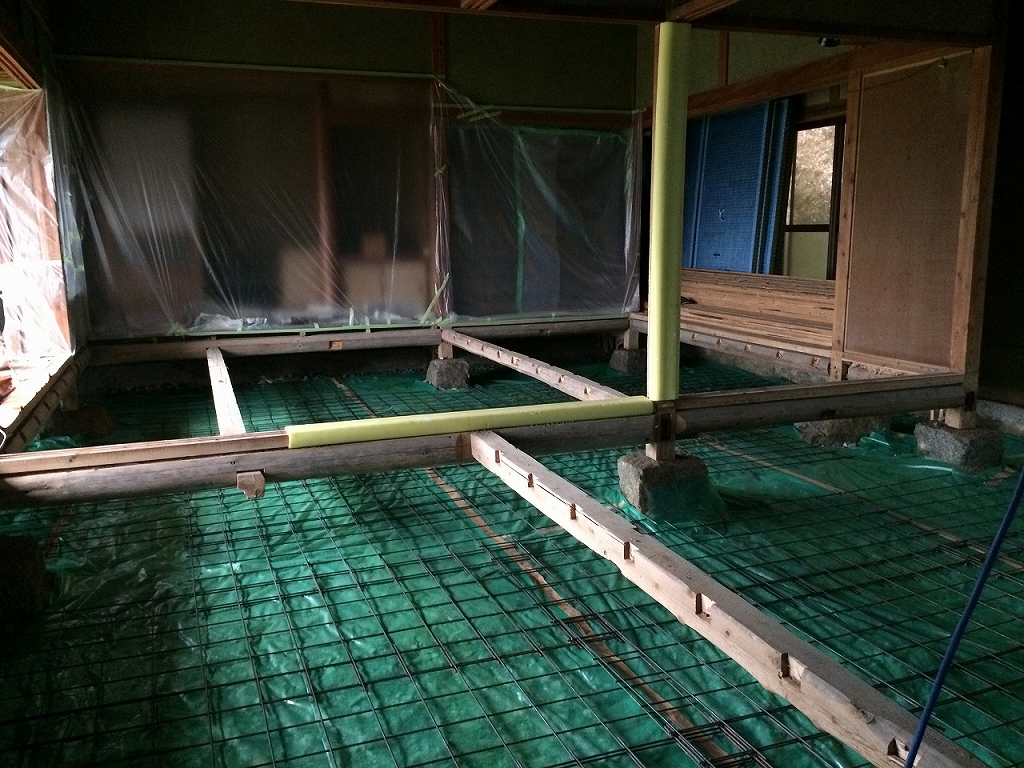
床は全面に防湿コンクリートを施工し、
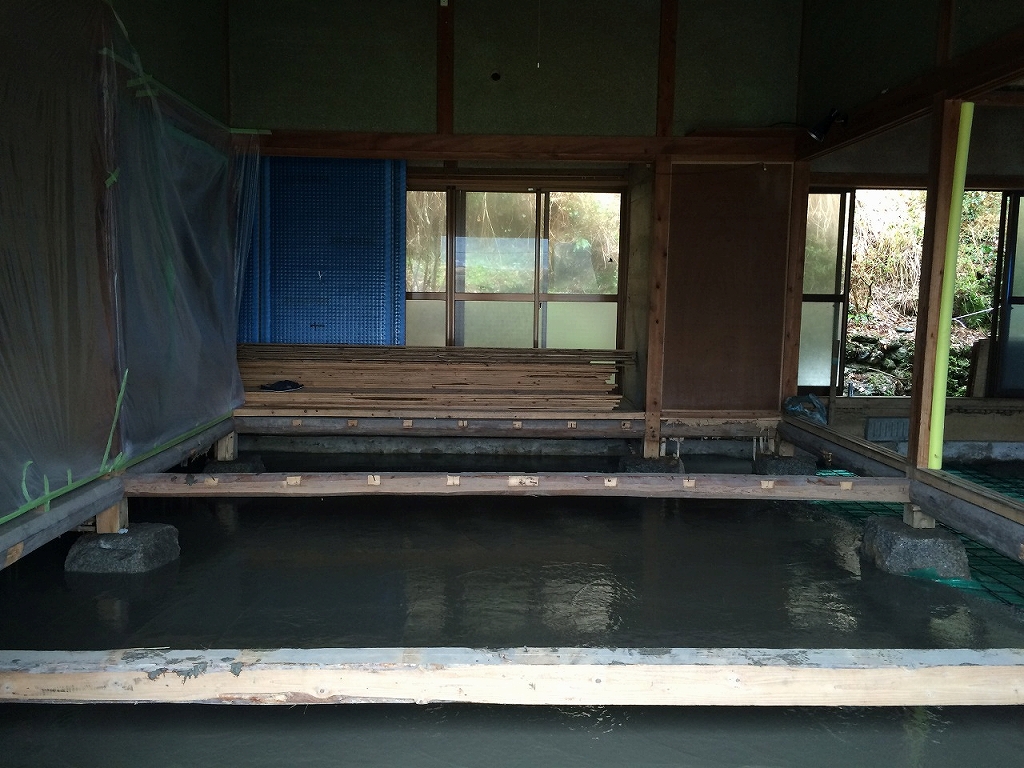
傷んだ柱は新しい柱に差し替えます。

さあ、この骨組みだけとなった空間、
これからどんな風に変わっていくでしょう。また次回ご紹介します!